CMD Meaning and Basic Commands for Beginners
The Command Prompt offers tools to execute tasks such as managing files and directories, running scripts, and even automating repetitive tasks.
In this article, we'll cover the basics of using CMD, including understanding the interface, using basic navigation commands, and manipulating files and directories.
So, let's dive in and start our journey to mastering CMD!
What is CMD?
CMD is an abbreviation of the word “command” and is used when referencing Windows command processor, aka Command Prompt.
CMD is a powerful tool for Windows operating systems that allows users to interact with the computer using text-based CMD commands through the command line interface.
For a quick intro, watch this clip from our Learn Enough Command Line To Be Dangerous course, by Michael Hartl.
Understanding the CMD interface
Understanding the Command Prompt interface is the first step in getting started with CMD.
Most non-techie users will be familiar with the graphical user interface that allows for clicking of icons in order to navigate their PC.
The Command Prompt window, on the other hand, is a simple black screen with a white text cursor that allows you to enter commands.
To open the Command Prompt, you can use the search function in Windows or use the cmd run command (press Windows Key + R).
When you open the Command Prompt, you'll see the current directory path, which indicates the location where you are currently working.
You'll also see a blinking cursor, which is where you can start entering commands.
A good way to think of it is that each prompt command is like a cursor click on a button in Windows.
Only, there's more to it, because not only are you able to enact changes on a deeper level of your operating system, but you can also outline very specific parameters and prompts that could never be done with clicks.
There are 4 key elements of the Command Prompt interface that you should be aware of:
The Command Prompt title bar
The title bar displays the name of the Command Prompt window and the version of Windows you're using.
The Command Prompt menu bar
The menu bar provides access to various options and settings for the Command Prompt.
The Command Prompt window
The main window displays the output of your commands and any errors that may occur.
The Command Prompt input
The input area is where you enter your commands.
In the next section, we'll cover basic navigation commands that you can use to get started with CMD.
Basic command prompts for navigation

Basic navigation commands are essential for moving around in the Command Prompt and working with files and directories.
Below are 6 of the most commonly used navigation command prompt commands:
`cd` (change directory)
The cd command allows you to move between directories. For example, to move from the current directory to the "Documents" directory, you would use the command cd Documents.
`dir` (directory listing)
This command displays the contents of the current directory, including files and subdirectories.
`cd..` (move up one level)
This command allows you to move up one directory level. For example, if you're in the "Documents" directory, using the cd.. command would move you up to the parent directory.
`md` (make directory)
This command allows you to create a new directory. For example, to create a new directory called "Test", you would use the command md Test.
`rd` (remove directory)
This command allows you to delete an empty directory. For example, to delete the "Test" directory, you would use the command rd Test.
type
The type command displays the contents of a text file. For example, to view the contents of a file called "test.txt", you would use the command type test.txt.
These are just a few of the basic navigation commands in CMD. By using the above basic CMD command list, you'll be able to move around your file system and work with files and directories with ease.
In the next section, we'll cover the file and directory structure in CMD.
CMD file and directory structure
A proper understanding of the file and directory structure in CMD is crucial for the effective navigation and management of your files and directories.
In CMD, the file system is organized in a hierarchical structure, with the root directory being the highest level in the structure. From the root directory, you can access all other directories and files on your computer.
Here's an outline of the file and directory structure in CMD:
Drives
Your computer's hard drive is represented by a letter, such as "C:" or "D:". Each drive is a separate unit that can have its own file and directory structure.
Directories
Directories, also known as folders, are used to organize files and other directories. Directories can contain files, subdirectories, or both.
Files
Files are the basic unit of information in the file system and can contain text, images, videos, or any other type of data.
In CMD, you can use the cd command to navigate to different directories, and the dir command to display the contents of a directory.
When you enter a command, CMD searches for it in the current directory. If the command is not found in the current directory, CMD searches for it in the directories listed in the PATH environment variable.
Creating, renaming, and deleting files and directories
Creating, renaming, and deleting files and directories are common tasks in CMD. Here's a brief overview of the commands you'll need to know to perform these tasks:
Creating files
To create a new file in CMD, you can use the type command. For example, to create a new file called "test.txt", you would use the following command: type nul > test.txt.
Renaming files
To rename a file in CMD, you can use the ren (rename) command. For example, to rename the file "test.txt" to "new_test.txt", you would use the following command: ren test.txt new_test.txt.
Deleting files
To delete a file in CMD, you can use the del (delete) command. For example, to delete the file "test.txt", you would use the following command: del test.txt.
Creating directories
To create a new directory in CMD, you can use the md (make directory) command. For example, to create a new directory called "Test", you would use the following command: md Test.
Renaming directories
To rename a directory in CMD, you can use the ren (rename) command. For example, to rename the directory "Test" to "New_Test", you would use the following command: ren Test New_Test.
Deleting directories
To delete a directory in CMD, you can use the rd (remove directory) command. For example, to delete the directory "Test", you would use the following command: rd Test.
It is critical to exercise caution when deleting files and directories, as they cannot be recovered once deleted. Make sure you have backed up any important data before deleting a file or directory.
What’s the difference between CMD and CLI (Linux command line)?
CMD (Command Prompt) and CLI (Command Line Interface) are both command-line interfaces that allow users to interact with their computer systems. However, there are several key differences between CMD and CLI:
Operating system
CMD is used in Windows operating systems, while CLI is used in Linux and Unix-based systems.
Syntax
The syntax of commands in CMD and CLI can differ. For example, the equivalent of the dir command in CLI is ls. Additionally, some commands in CMD may not be available in CLI and vice versa.
Package management
CLI provides advanced package management systems, such as apt-get, which allow you to install, update and manage software packages from the command line.
CMD does not have an equivalent package management system, but Windows users can use third-party package managers such as Chocolatey.
Shells
CLI allows users to choose from a variety of shells, such as Bash, Zsh, and others. In contrast, CMD only supports the Windows Command Prompt shell.
Scripting
Both CMD and CLI support scripting, but the scripting languages used can differ. For example, CMD uses batch scripting, while CLI uses shell scripting.
In closing
In conclusion, you have learned that the command prompt (CMD) is a valuable tool that allows users to interact with their Windows computer's operating system using text-based commands.
We discussed the meaning of cmd, basic concepts and commands, and the key differences between CMD and CLI.
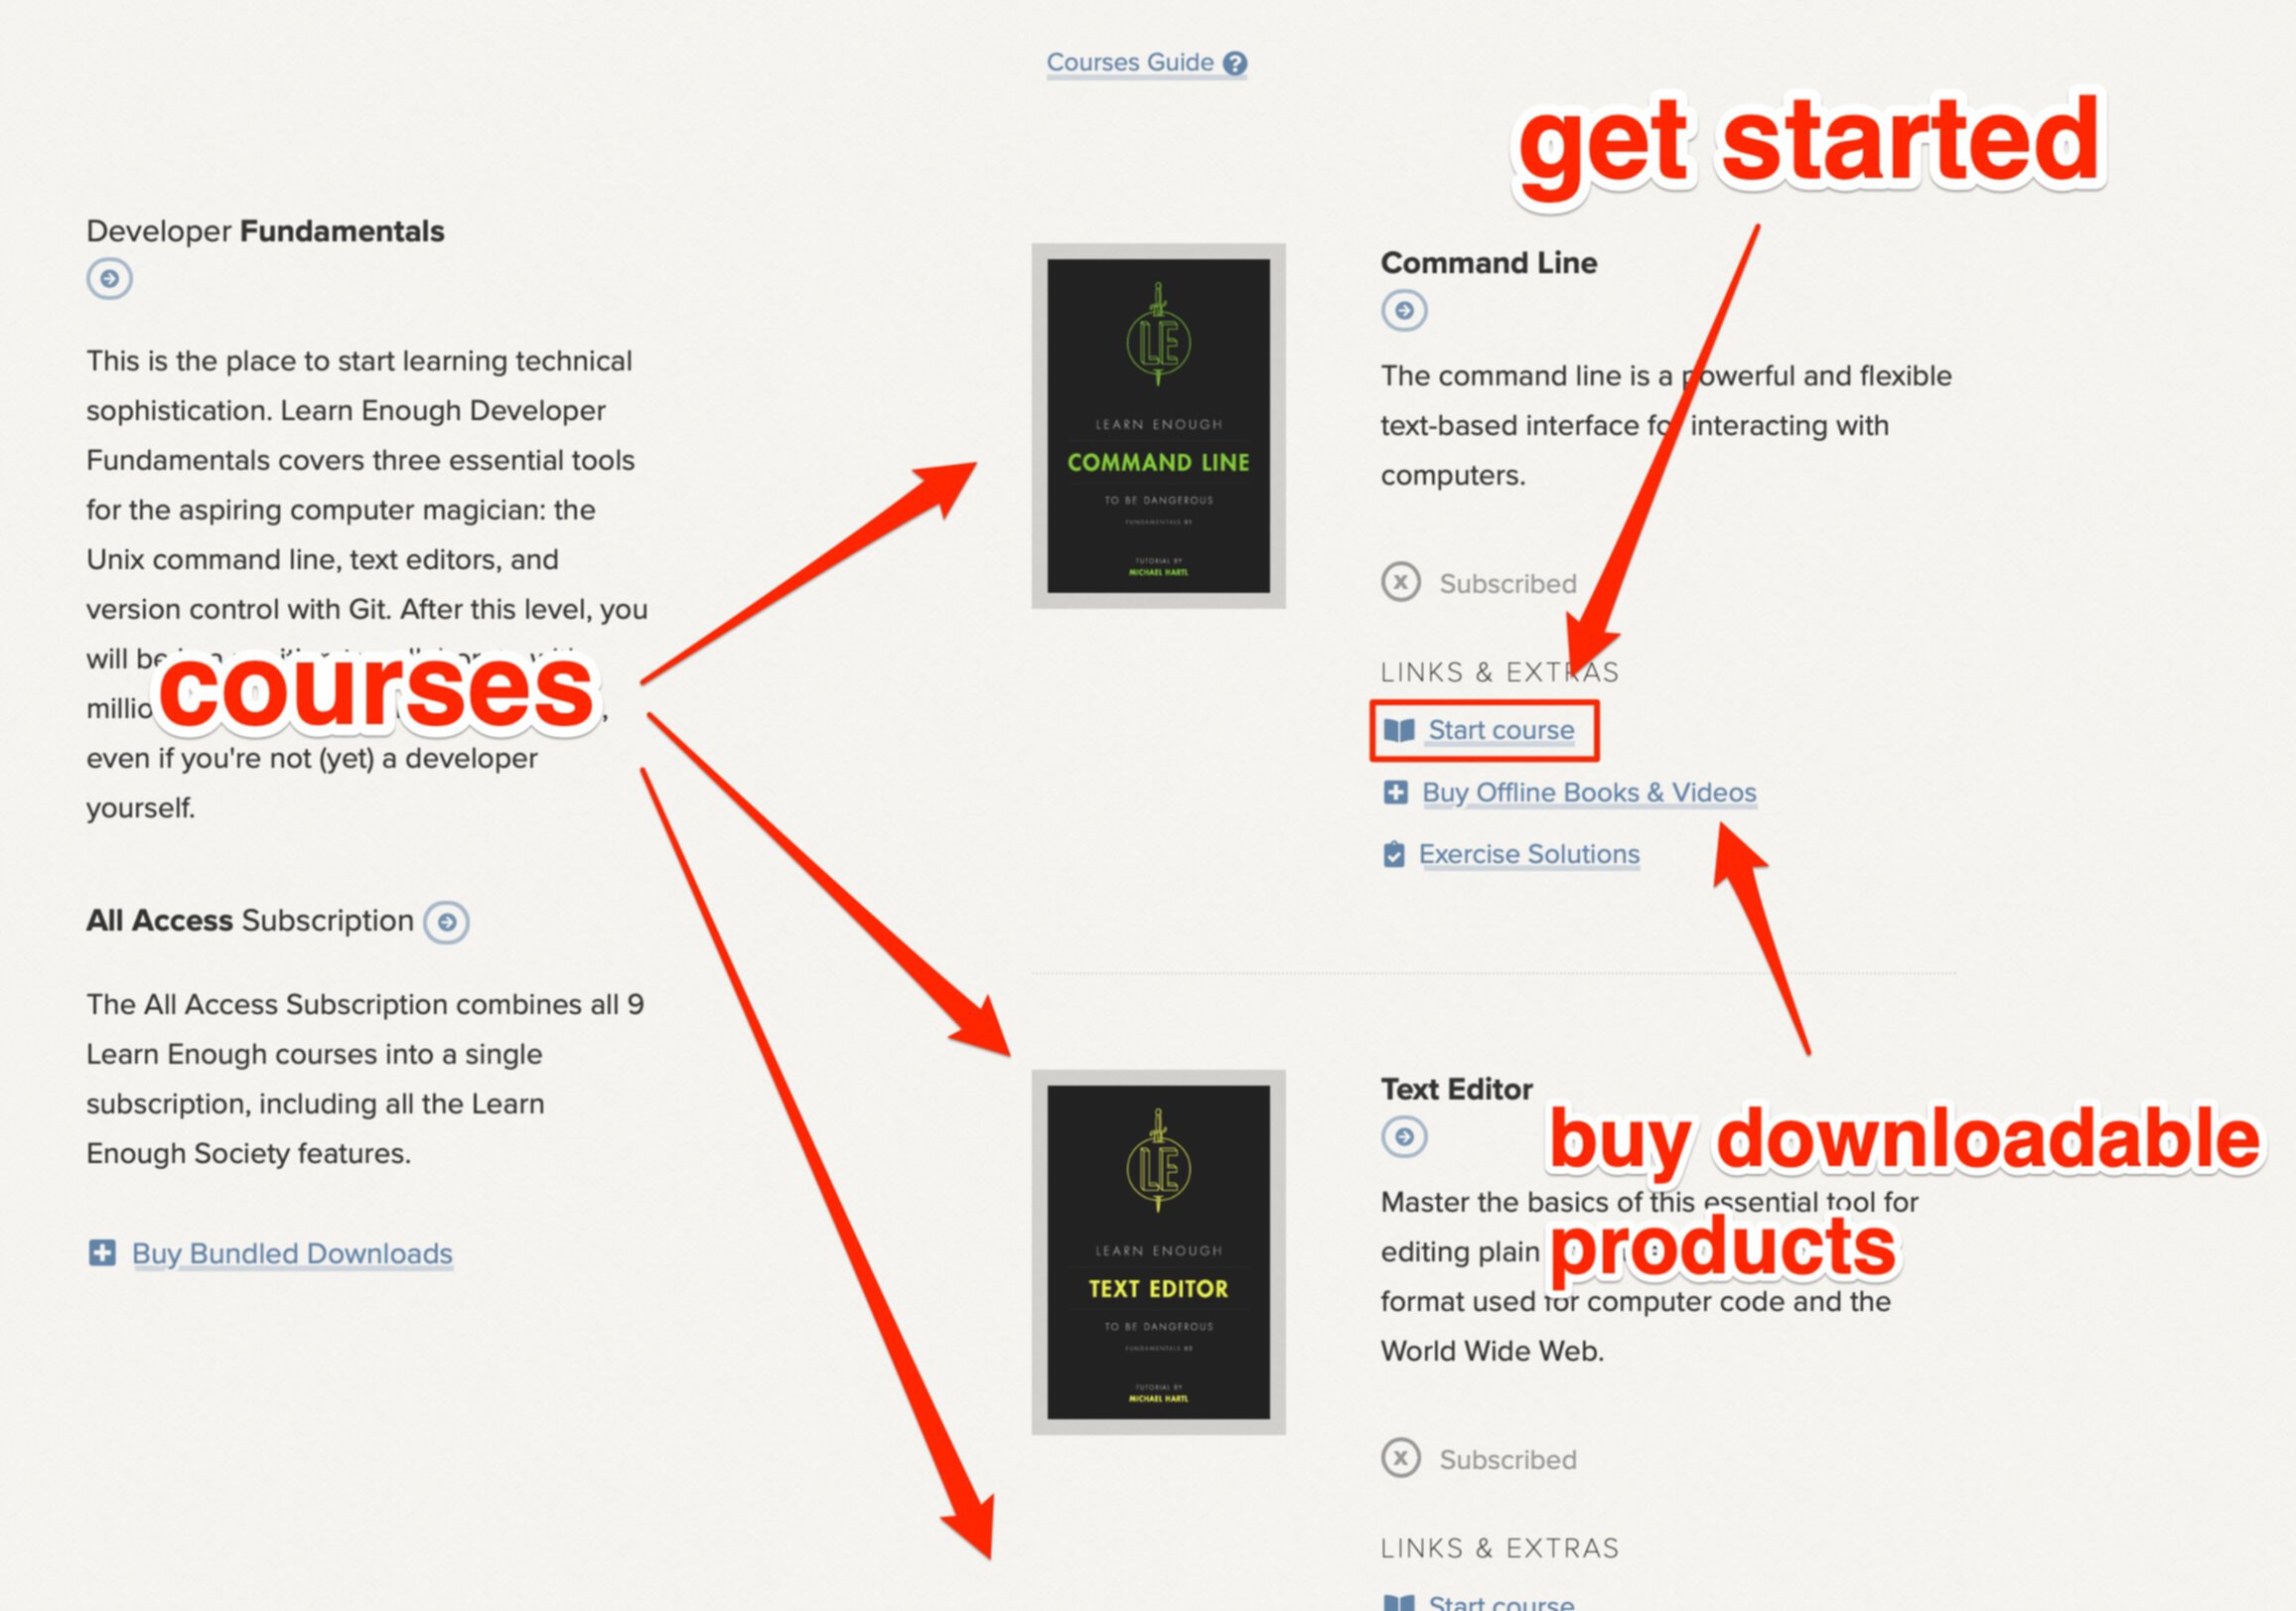
If you are an aspiring developer, we recommend completing Learn Enough's free tutorial on how to set up your dev environment, as well as our courses on the Command Line for Unix-based systems.
About Learn Enough
At Learn Enough, we provide a carefully designed course to take you from a beginner to a professional-grade developer.
Every Learn Enough All Access subscription includes the Ruby on Rails Tutorial, the leading introduction to web development with Rails for over ten years.
If you manage a team of developers, Learn Enough for Teams boosts the skills of your junior devs and gets your senior devs quickly up to speed with the latest version of Ruby on Rails.
Start your all-access 7-day free trial today!
All Access Subscription
Get free access to all 10 Learn Enough courses (including the Ruby on Rails Tutorial) for 7 days!
Free 7 Day trial details
We require a credit card for security purposes, but it will not be charged during the trial period. After 7 days, you will be enrolled automatically in the monthly All Access subscription.
BUT you can cancel any time and still get the rest of the 7 days for free!
All Learn Enough tutorials come with a 60-day 100% money-back guarantee.


